

Gen-I - Incentivize Open source contribution using NFTs! 💻🏆🏅
Reward users with custom NFTs for their commits to open source projects


✨ About the app
Gen-I is a dApp that lets Open source projects mint custom NFTs for contributions on their projects.
These NFTs can be sold, traded, or exchanged as per the contributor's discretion at any point of time in the future.
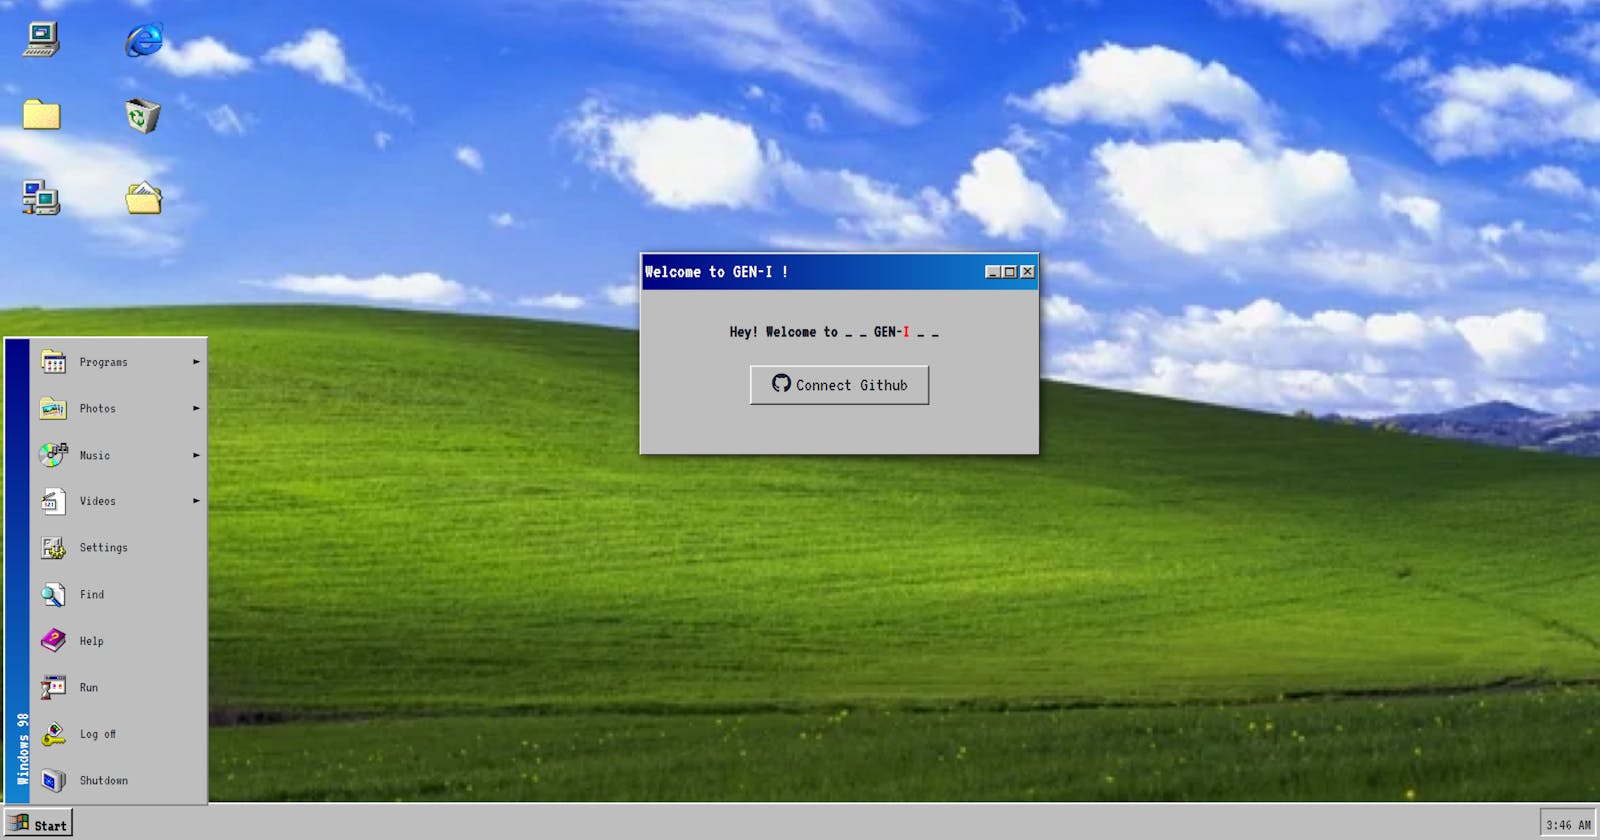
The dApp is a windows 98 themed web app which gives it a nice retro look!
💻 Demo of the app
Check out the deployed project and Github repo
🔧 Building the app
- Front-end using ReactJS
- Github OAuth using Supabase
- Thirdweb SDK to Connect wallet, mint NFTs, and fetch NFTS
- Octokit package to fetch data from github
🔑🔒 Github OAuth using Supabase
Create a Supabase project on supabase.io , create a GitHub OAuth application, and save its Client ID and Client secret safely.
Install the Supabase JS library using either NPM or Yarn:
npm install @supabase/supabase-js
Create a Supabase client object:
/*client.js */
import { createClient } from '@supabase/supabase-js'

const supabase = createClient('https://appid.supabase.co', 'anon-public-key')

export {
  supabase
}
Create sign-in and sign-out functions using this Supabase client:
/* check if a user is signed in */
async function getUser() {
    const user = supabase.auth.user();
  }

/* authenticate with GitHub */
  async function signInWithGithub() {
    await supabase.auth.signIn({
      provider: 'github'
    });
  }

/* sign the user out */
  async function signOut() {
    await supabase.auth.signOut();
  }
✨Configuring Thirdweb
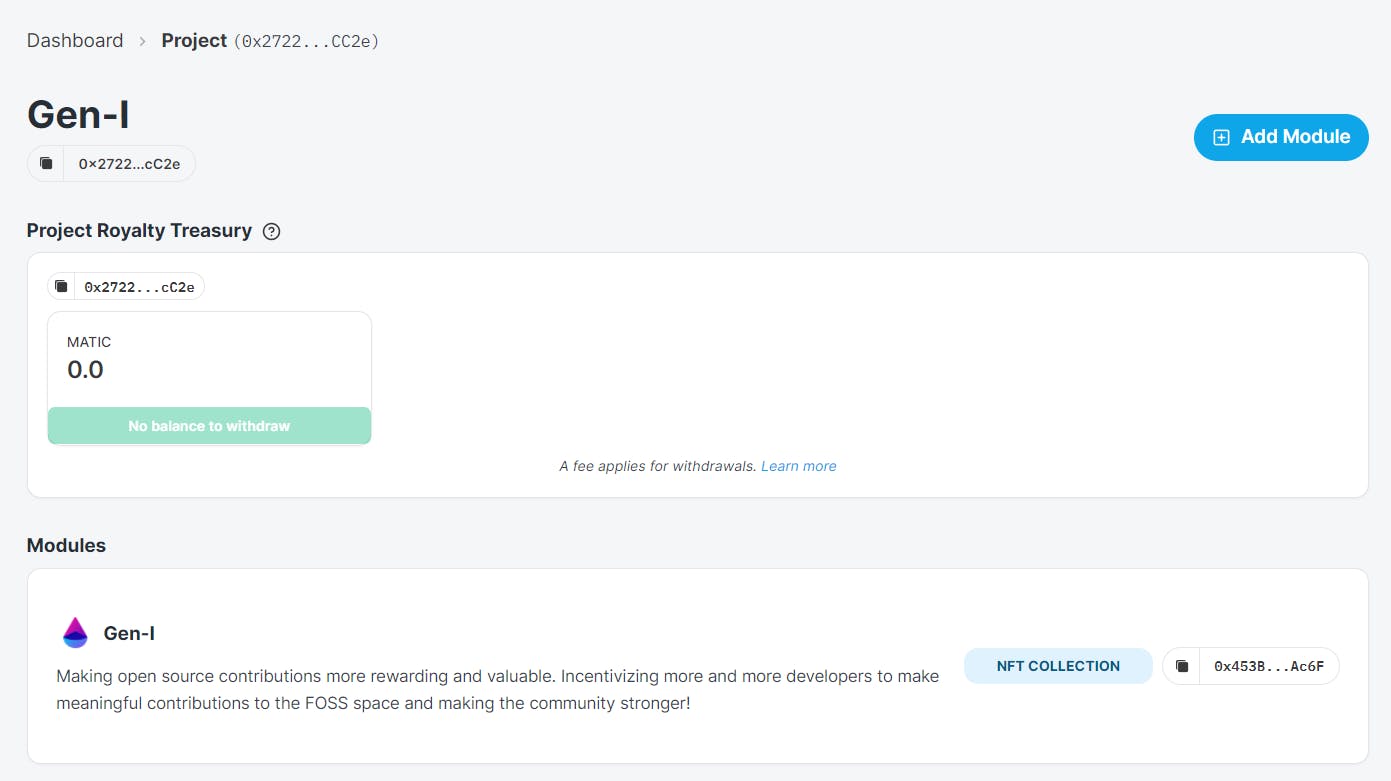
Setting up Thirdweb project in the dashboard
- Go to the Dashboard and create a new project.
- Create an NFT collection module.
- Give it a name and symbol.
- Under the permissions tab, In the minter section add the address of your metamask wallet.
Setting up the local environment
Install the dependencies:
npm install @3rdweb/sdk ethers dotenv
npm install --save-dev typescript @types/node ts-node tslib
Initiate the SDK:
/ Importing libraries
import { ThirdwebSDK } from "@3rdweb/sdk";
import { ethers } from "ethers";

//Importing private key
require("dotenv").config();

const sdk = new ThirdwebSDK(
  new ethers.Wallet(
    // Your wallet private key
  process.env.PRIVATE_KEY as string,
    // RPC URL, we'll use Polygon Mumbai
    ethers.getDefaultProvider("https://rpc-mumbai.maticvigil.com")
  )
);
Implement connect-wallet functionality:
- Wrap the App with the Thirdweb provider
function App() {

const supportedChainIds = [80001];
const connectors = {
    injected: {},
  };

return (
    <ThirdwebProvider
      connectors={connectors}
      supportedChainIds={supportedChainIds}
    >
      <UserContext.Provider value={{ user, setUser }}>
        <div className='App'>
          {Content}
        </div>
      </UserContext.Provider>
    </ThirdwebProvider>
  );
}
- Import the Connect wallet component and use it as a button:
import { ConnectWallet } from "@3rdweb/react";
function Navbar({ username }) {
  return (
    <nav className='navbar'>
        <ConnectWallet />
    </nav>
  );
}
Helper functions to carry out NFT operations:
// The NFT module address received after initializing the NFT module on the dashboard.
const nftCollectionAddress = "<Address of your collection>";

// Initialize the NFT drop module with the contract address.
const nftCollection = sdk.getNFTModule(nftCollectionAddress);

// function to get all NFTs data
export const getAllNfts = async () => {
  await nftCollection
    .getAll()
    .then((data) => {
      console.log(data);
      return data;
    })
    .catch((err) => console.log(err));
};

// function to get NFTs of a particular address
export const nfts = async (address) => {
  await nftCollection
    .getOwned(address)
    .then((data) => console.log(data))
    .catch((err) => console.log(err));
};

// function to mint NFTs
export const minter = async () => {
  await nftCollection.mintTo(toAddress, metadata);
};
🧰Using the Octokit package
Generate a personal access token from Github, and save it a .env file.
Create the Octokit client object
import { Octokit } from "@octokit/rest";
export const octokit = new Octokit({
  auth: process.env.GITHUB_TOKEN,
  userAgent: "skylight v1",
});
- Get all repositories of the connected user:
async function onLoad() {
      await octokit
        .request("GET /users/{username}/repos", {
          username: `${username}`,
        })
        .then((res) => {
          const encoded = res.data;
          setRepos(encoded);
        })
        .catch((err) => console.log(err));
    }
- Get all commits of a particular repository:
 async function onLoad() {
      await octokit
        .request("GET /repos/{owner}/{repo}/commits", {
          owner: `${username}`,
          repo: `${params.repoName}`,
        })
        .then((res) => {
          const encoded = res.data;
          setCommits(encoded);
        })
        .catch((err) => console.log(err));
    }
    onLoad();
💫 Conclusion
This is how Gen-I was built. It was a wonderful experience and I would like to thank Hashnode and Thirdweb for organizing this hackathon.